
Wheel Alignment
Studio wheel alignment procedure
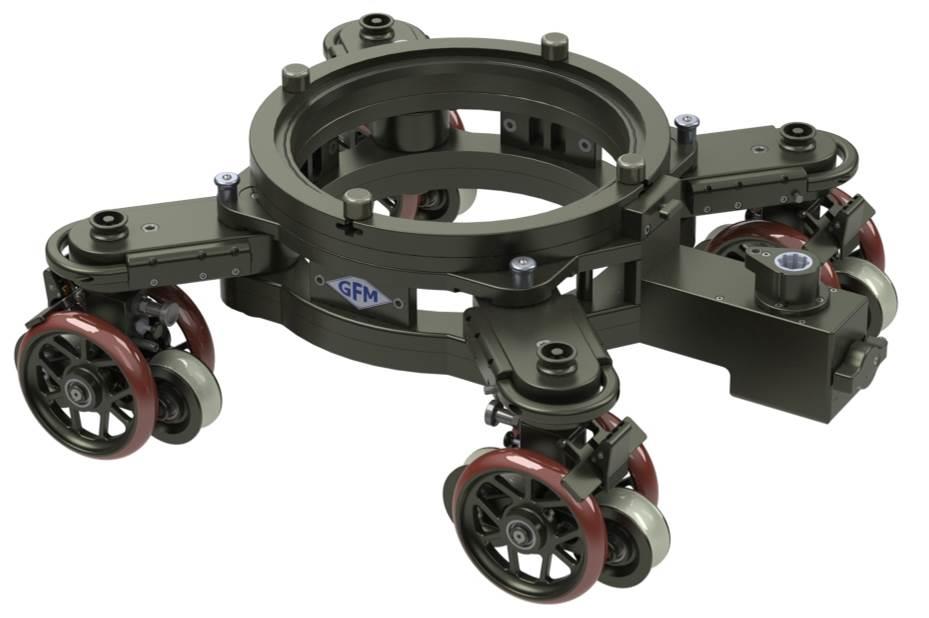
If the studio wheels of the GF-Primo Dolly are misaligned, follow the steps below to set them back into a straight line.
Engage CRAB mode
Shift the dolly into CRAB steering mode.
Turn the dolly upside-down
Place the dolly upside-down on a table or workbench so the wheel units face upward.
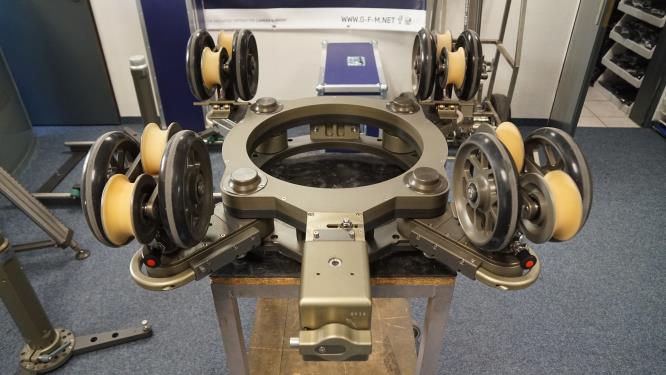
Check the wheel-unit locks
Make sure the locking pins of the studio wheel units are correctly inserted and secured. To verify, steer one wheel unit by hand — if the other units move with it, they are correctly engaged.
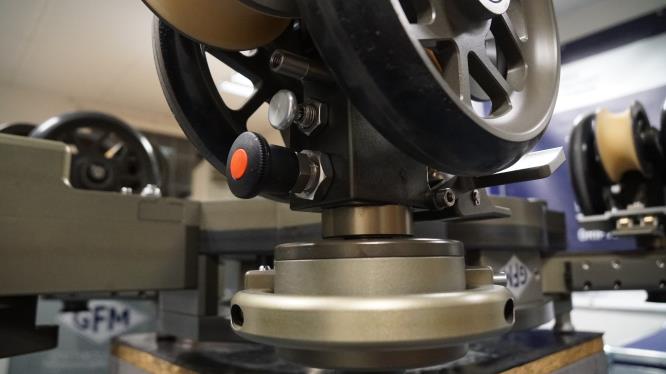
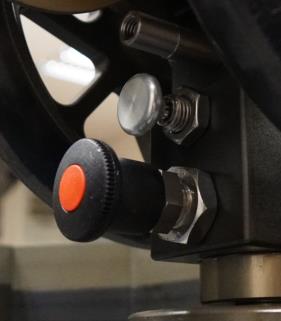
Keep the gearbox marks aligned
Make sure the marks on the steering gearbox stay aligned as shown throughout the entire alignment procedure.
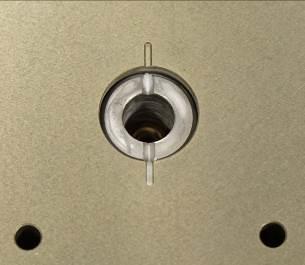
Remove the wheel-unit cover
Remove the cover of the misaligned wheel unit by undoing its 2 screws.
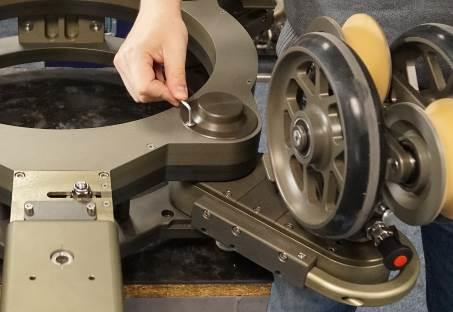
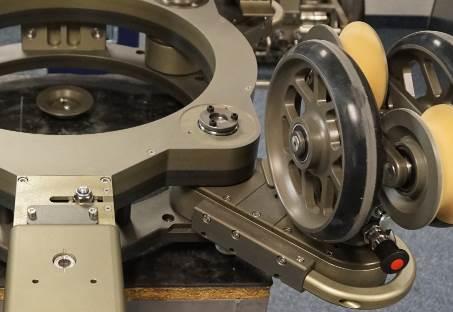
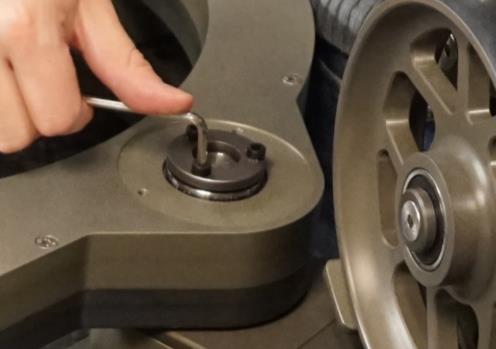
Loosen the three alignment screws
Loosen the 3 screws of the alignment mechanism evenly and alternately, until the wheel unit can be turned easily by hand.
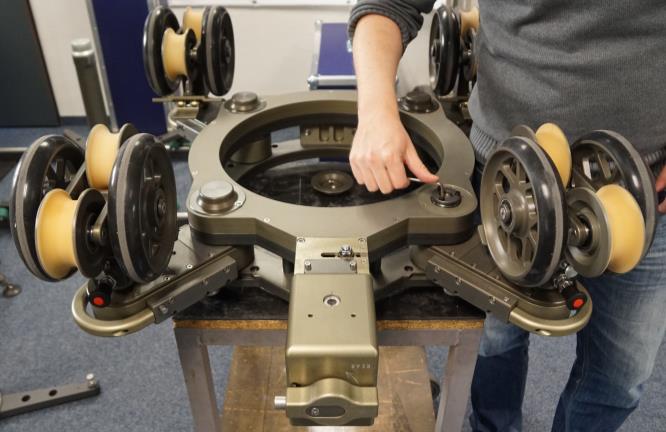
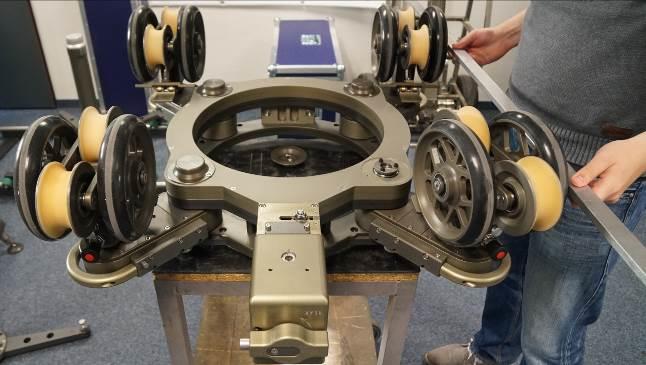
Set the wheels in a straight line
Using a straight edge, align the front and rear wheel unit so that both run in a perfectly straight line.
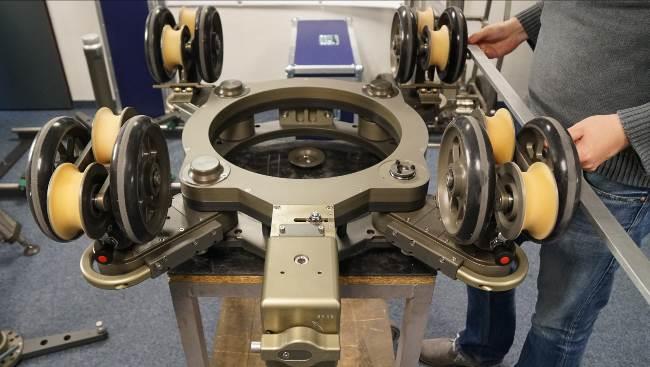
Torque to 10 Nm and re-check
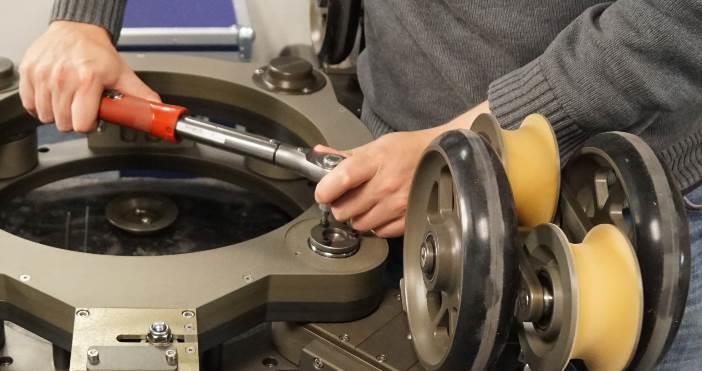
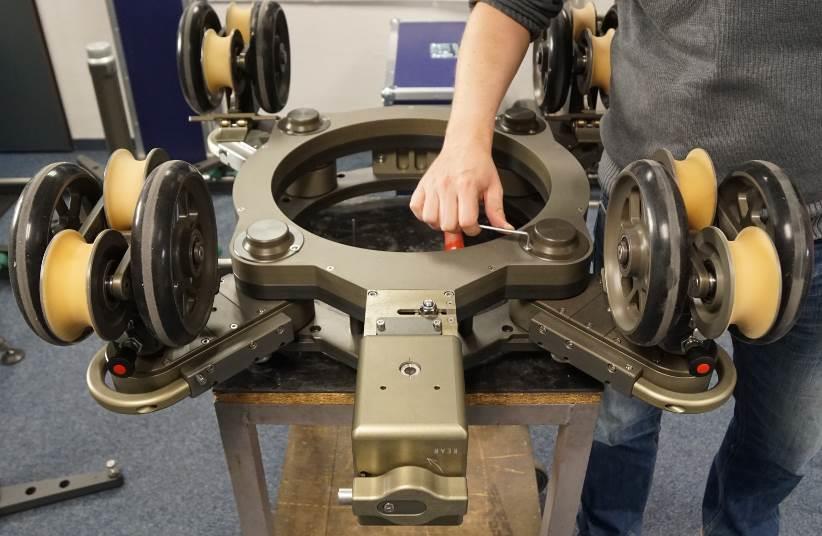
Hand-tighten the 3 screws evenly and alternately, then tighten them to the correct torque using a torque wrench set to 10 Nm. Re-check the opposite wheel pair with the straight edge and align it the same way if required.
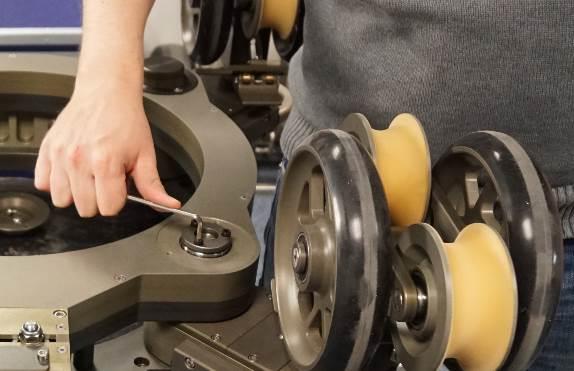
Refit the cover
Refit the cover of the alignment mechanism, hand-tightening its 2 screws.
Ready for use
The studio wheels are aligned again. The dolly is ready for use.
GFM-TM-001 · Rev 2026-06 · Technical changes reserved.