
Carriage Adjustment
Setting the tracking carriage bearings
The tracking carriage runs on four bearings: two fixed lower ones and two spring-loaded upper ones. Only the upper pair is adjustable. Set it so both bearings touch the guide rail and keep turning as the carriage moves. The pressure against the rail is what you feel as running friction, so adjust it to taste.
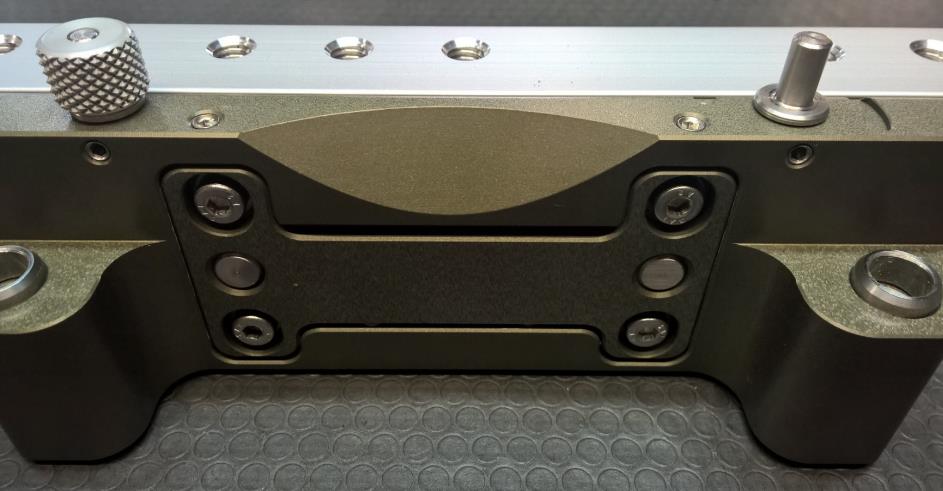
Open the grub screws
Four grub screws (G), two at the top and two at the bottom, limit how far the spring-loaded adjusters can travel once the adjustment screws are locked off. Open all four by turning them anti-clockwise before you touch anything else.
Loosen the adjustment screws
Four adjustment screws (A) hold the upper tracking bearings in place. Loosen them a little and the springs push the bearings towards the rail. Once the bearings have moved, retighten the screws gently.
Check the bearing contact
Both upper bearings have to sit on the guide rail and turn while the carriage runs. Push the carriage along the rail and hold a finger against the left and the right outer bearing to feel whether they are really turning.
Lock the adjustment screws
Once the carriage runs the way you want, tighten all four adjustment screws (A) firmly.
Secure with the grub screws
Bring the four grub screws (G) back in, gently, until they hold the spring-loaded adjusters in position.
Ready for use
The upper bearings are set and locked. The carriage is ready to run.
GFM-TM-002 · Rev 2026-06 · Technical changes reserved.